I bet it has crossed your mind, at least once, the idea of building an online store. Let’s not hide it -we have all thought about it. However, many ideas don’t become reality since creating a complete and functional eShop requires a lot of time and money. Or maybe not? The last years, building an eShop has changed dramatically. Read below and you will get the idea of what I mean.
Why create an eShop, in the first place?
One basic reason most businesses focus on creating an eShop is to reduce fixed and operating costs (rents, equipment, staff, etc). Another one is the huge online consumer audience and the multiple online opportunities to promote and advertise the eShop (low cost in comparison to traditional means such as brochures, posters, TV / radio commercials, etc.)
But are all eShops profitable? No! Τhis post will explain how to avoid expensive and common mistakes that most people make.
Let’s begin
You’ve got the idea or an offline business and you want to start selling products & services online. However, the process seems like a mountain to climb! Domain, Hosting, Web design, SEO and all appear more as roadblocks to building an online store rather than a solution! You can choose between 2 solutions.
Solution 1: Talk to a specialist
An expert will be able to create a complete online store, well-designed and functional, according to your needs and the latest trends in the online market. This solution’s main disadvantages are the high cost and the long time it takes to implement. It is important to carefully choose the professional or company that will undertake your project. Don’t forget to determine from the beginning the eShop’s specifications in detail, so that changes and corrections won’t skyrocket your cost.
Visit Papaki’s Experts page where you can find selected internet professionals we suggest.
Solution 2: Selecting a ready-made eShop plan
There are ready-made eShop building plans which include all the services needed to set up a website, but also an easy to manage interface for an online store. The main disadvantage of these plans is that the eShop’s specifications and features are set and may not meet your website’s specific needs. However, it is the ideal solution for someone who wants to try bringing their idea online at a very low cost.
Briefly, some of these plans features are:
- Domain and Hosting are included in the plan
- Ready to use layouts but also the ability to create your own unique one
- Easy to use, visual management interface. No programming skills required
- Easy and fast selection of categories, products, descriptions and prices
- Ability to provide multiple payment methods and more
How to create an eShop in 3 steps
The best way to check if a ready-made plan solution works for you is to try it out. Papaki offers you a free trial and a very easy way to create an eShop, regardless of technical skill level, with Website Builder. It is an easy-to-use web design platform for websites and online stores. Here is how you can get it.
1. Activate the free trial Website Builder plan
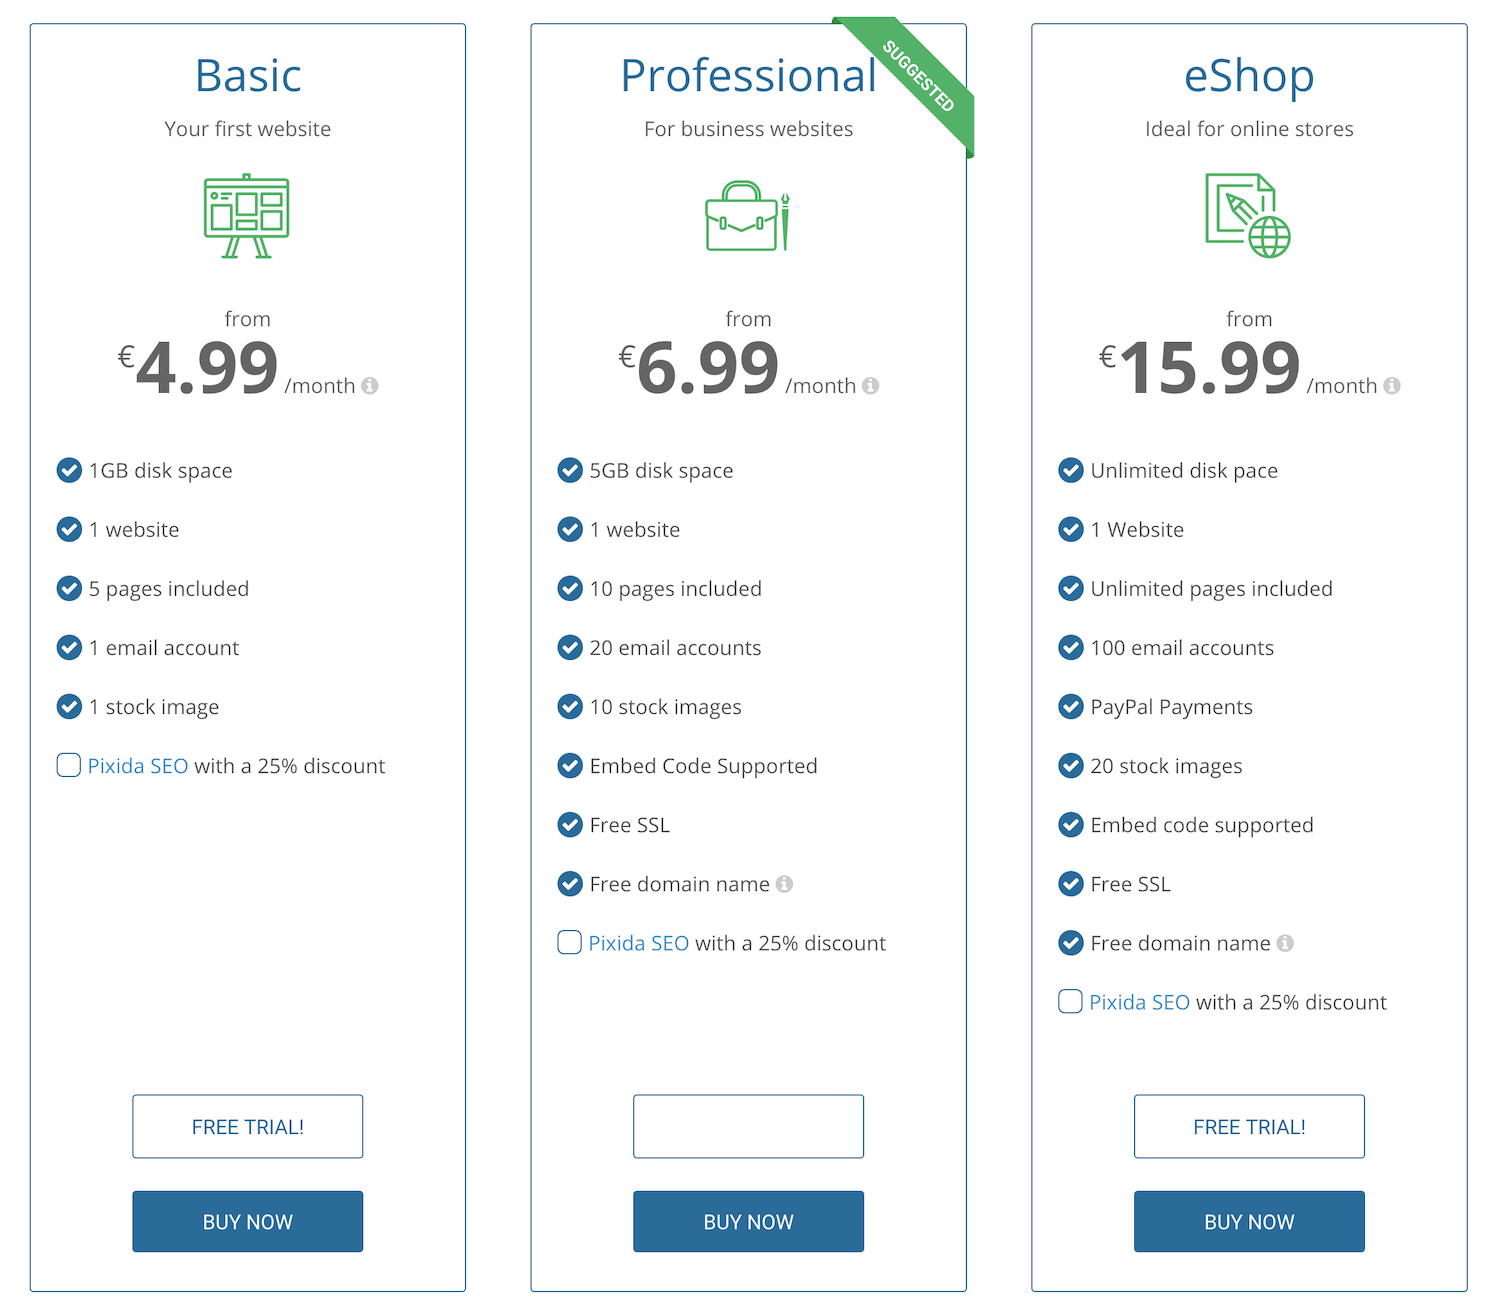
On the Website Builder page click on the “Free trial” button below the eShop plan -the third in a row. If you do not have a Papaki account to log in, you will be asked to create one and by completing the free order you will be transferred directly to your eShop building. Alternatively, you can buy it directly for a year, for just 15.99 euros per month, by clicking the “Buy now” button. If you do buy it, along with a number of other features you will get a free .store domain!

2. Create your homepage easily
Once you order your plan, you will directly get started with the first steps. Alternatively, you can connect through the Control Panel by clicking on “Website Builder plans”, then on the plan link and finally on “Website Builder Management”. You will be redirected to the Website Builder interface. There, you may answer some questions about your business type in order to save time and get suggestions on platform themes and images related to the type of your eShop. Then, you will end up with an elegant home page that you can easily form as you wish.
3. Add products, payment details and more
The next step is to add your products but also details regarding shipping, payment methods etc. This is easily done from the menu on the left and the “eShop” option. You will be guided step by step so that you complete each task for your online store. Don’t forget to publish your eShop so that it appears in the menu, at the top of the page. When you’re ready, click “Publish website” and your eShop will be online with a temporary url we provide.
If you are still in the trial mode and you like the result, do not hesitate to proceed by purchasing the plan. You will be able not only to connect your domain, but also activate the free SSL that we provide: you will welcome your customers to a completed and secure website :)
Want more?
Keep in mind that Website Builder is the best choice for creating eShops when the user does not have technical skills and wants to start selling online immediately and easily. For more customised solutions and for those who have basic technical skills, do not hesitate to create an eShop with WordPress environment, WooCommerce Hosting is strictly recommended!
Whatever you choose, we hope you see your sales going up! Of course, our Customer support team remains at your disposal for anything you may need.


Join the Discussion