

Flexmail: The ideal email marketing tool for newsletters and automated emails
Turn your website visitors into customers. Manage campaigns, guide your contacts through to purchase, and accelerate your business growth.
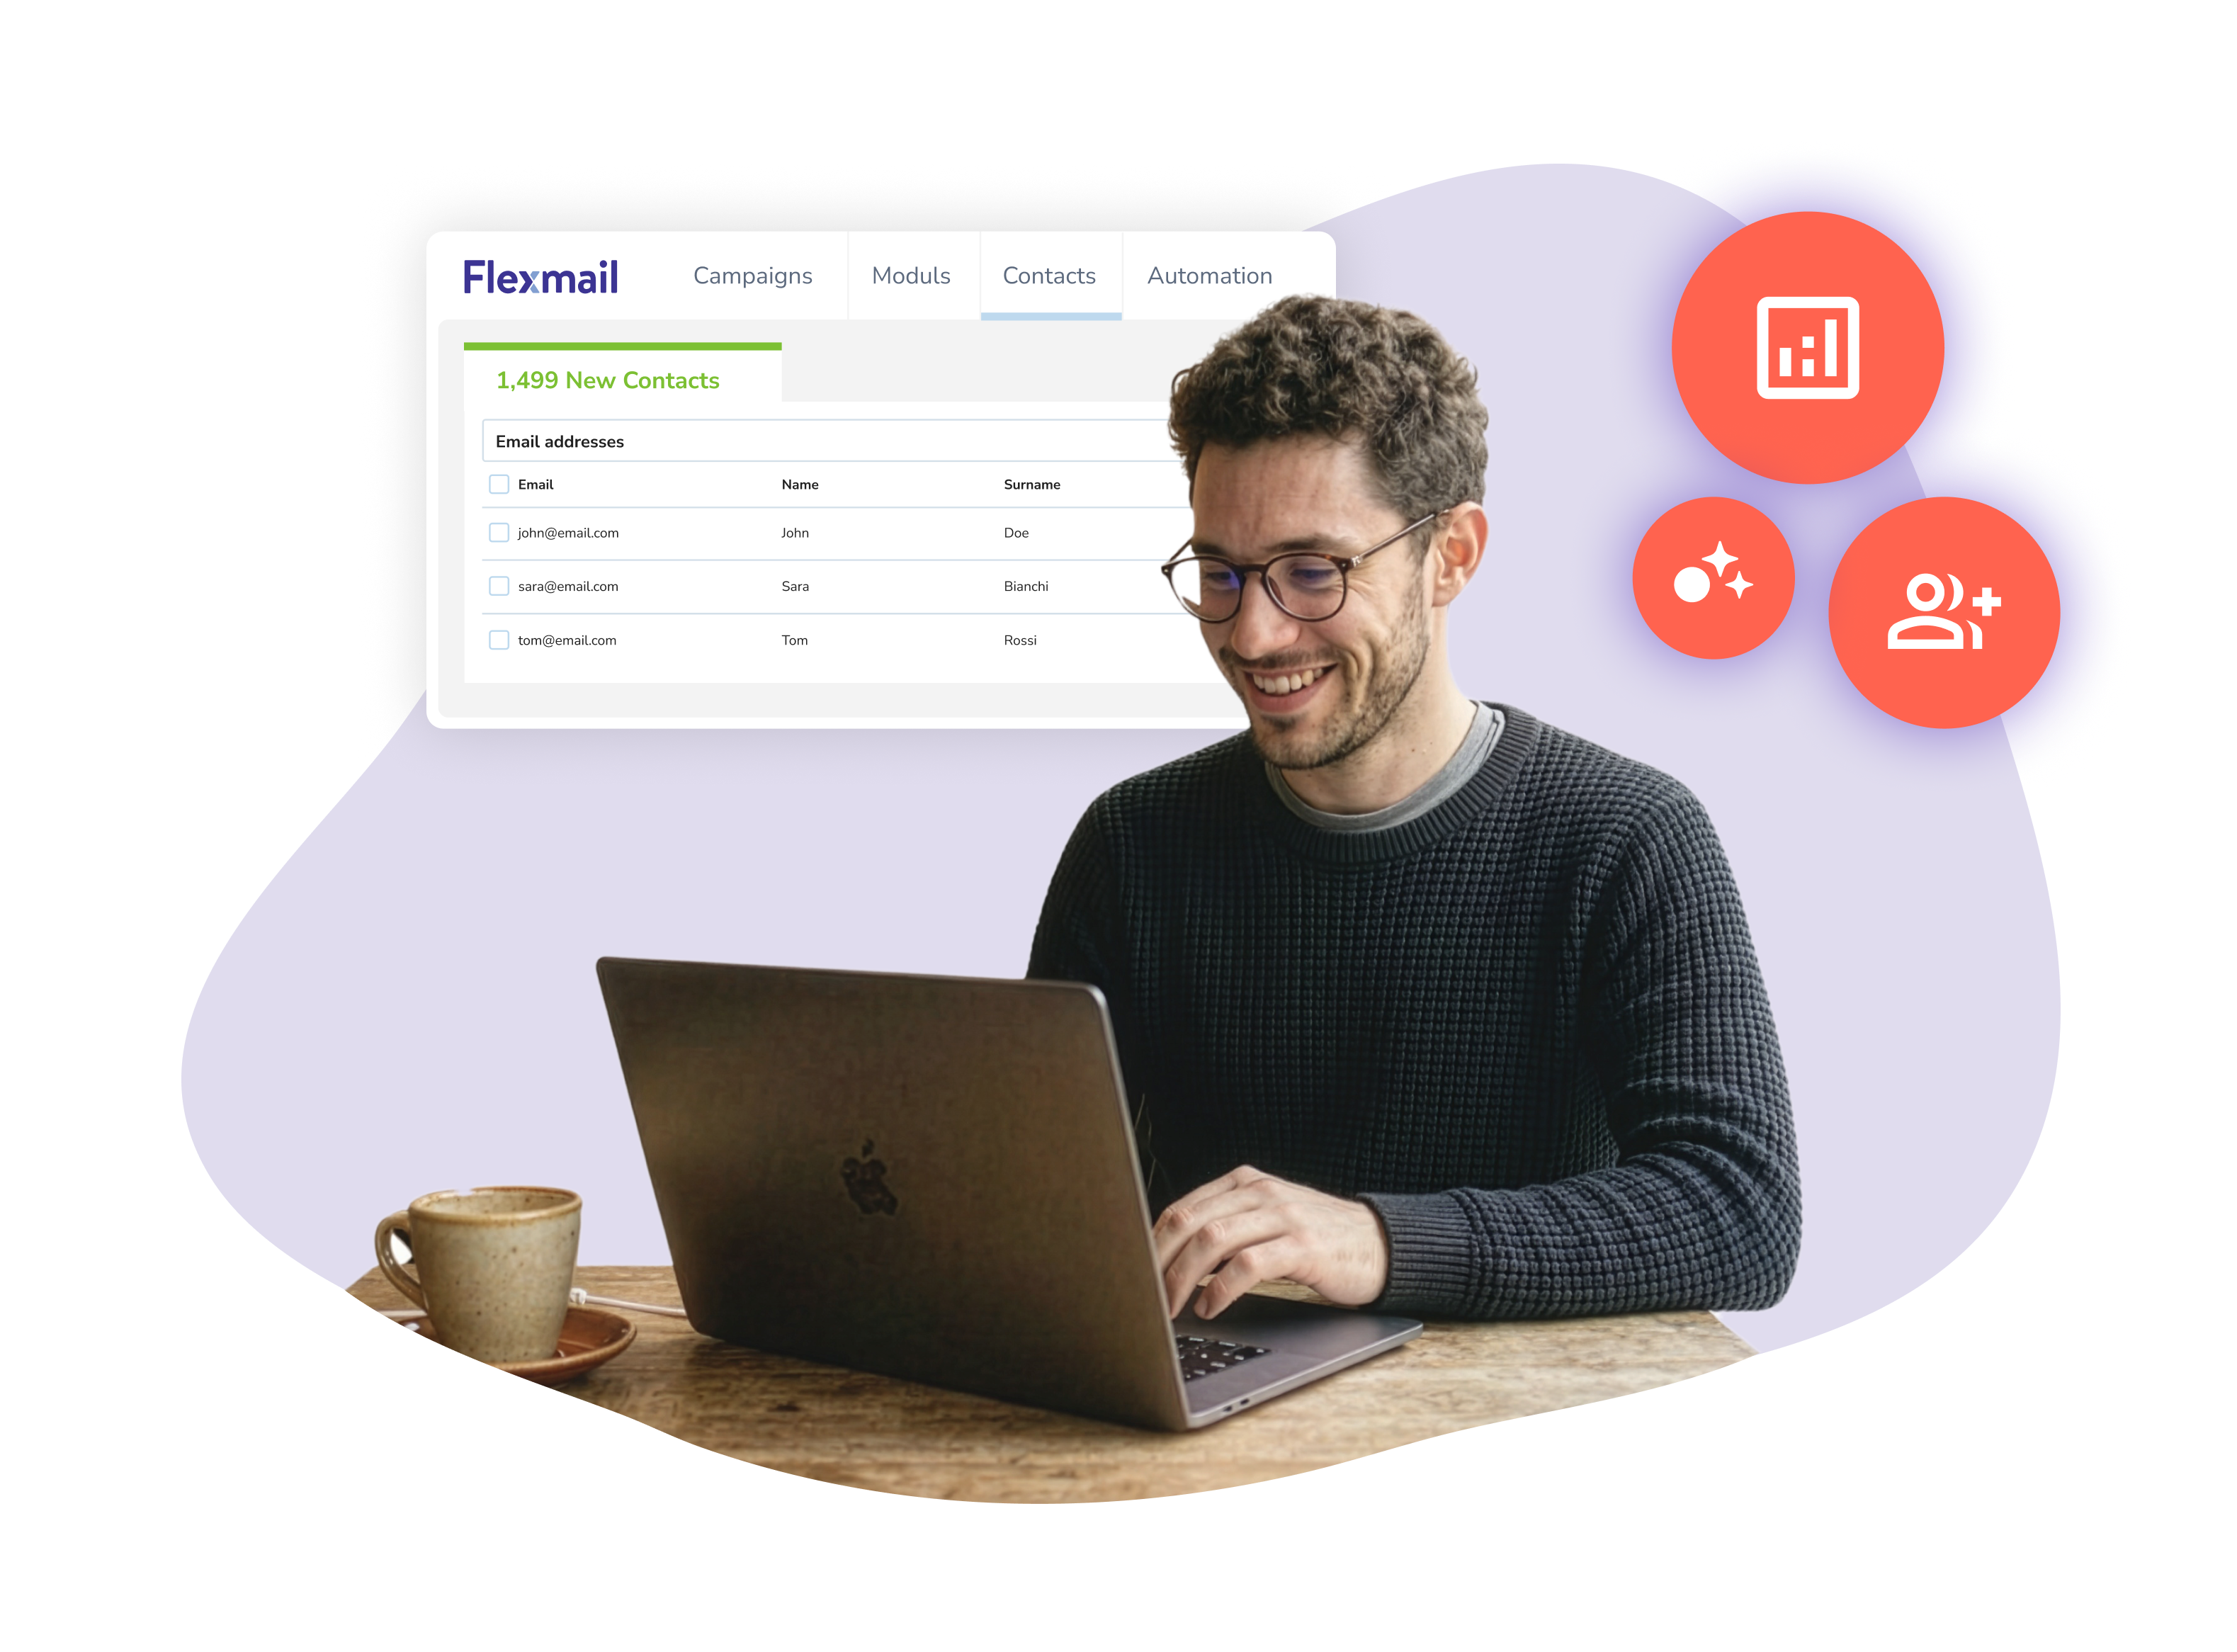

Take your business to the next level
Over 5,000 businesses across Europe have chosen Flexmail: stand out and build relationships through newsletters and targeted campaigns.
Email Marketing
Reach your contacts with the right message at the right time. Send everything from automated welcome emails to seasonal offers. Build strong relationships that lead to repeat purchases.
Stand out with professional emails that match your brand identity
Choose a pre-designed template and customize it with the drag-and-drop editor: create campaigns that look perfect on every device.
Guide your customers with automation
Welcome new subscribers and reconnect with existing customers. Thanks to automated workflows, your messages adapt to each recipient's behavior.
Get to know your customers' needs
Analyze your users' clicks and segment your lists based on their interests. This lets you send targeted emails that speak directly to what matters to them.
Start your free trial
Email Marketing
Reach your contacts with the right message at the right time. Send everything from automated welcome emails to seasonal offers. Build strong relationships that lead to repeat purchases.
Stand out with professional emails that match your brand identity
Choose a pre-designed template and customize it with the drag-and-drop editor: create campaigns that look perfect on every device.
Guide your customers with automation
Welcome new subscribers and reconnect with existing customers. Thanks to automated workflows, your messages adapt to each recipient's behavior.
Get to know your customers' needs
Analyze your users' clicks and segment your lists based on their interests. This lets you send targeted emails that speak directly to what matters to them.
Start your free trial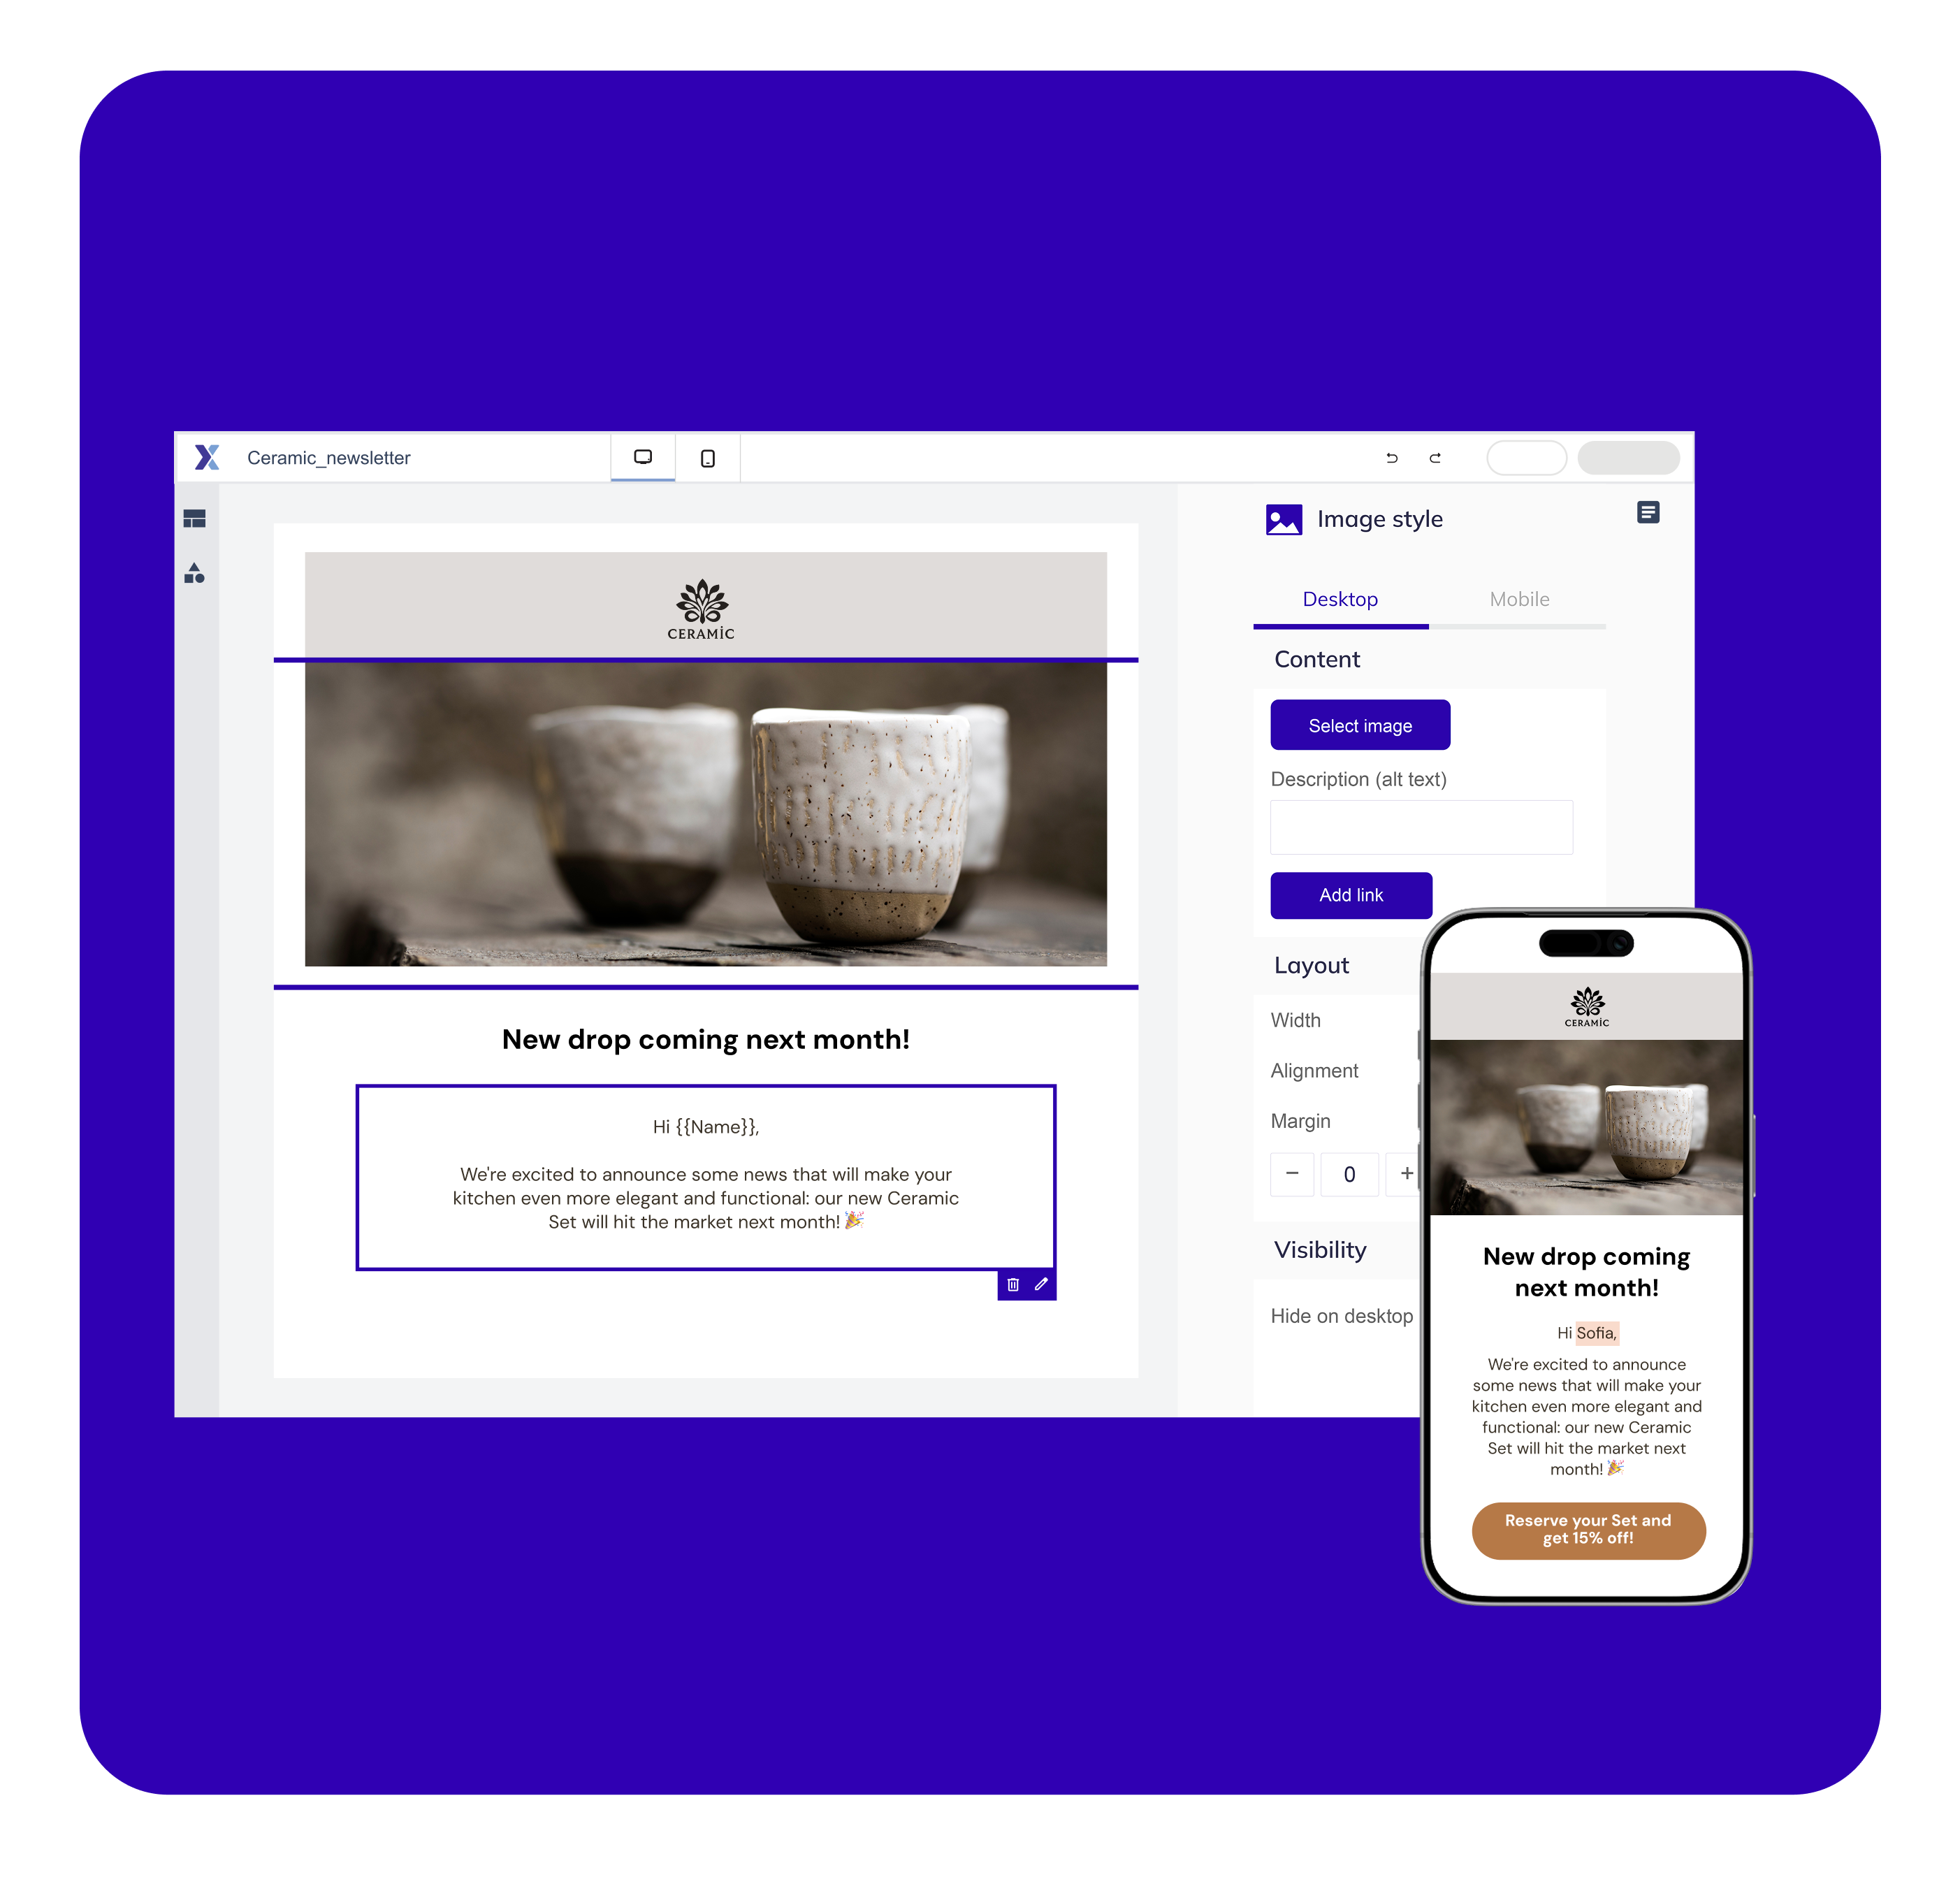
Automated Emails
Set up automated sends based on your customers' actions.
Build trust with every sale
Order and payment confirmations are sent immediately after purchase, reinforcing your customers' trust.
Updates at the right time
Password resets, login alerts, and account updates are always on time: your customers never have to wait, and your support team can focus on what matters.
Efficiency and transparency with timely notifications and invoices
Shipping updates, invoices, and renewal reminders are sent automatically, keeping your contacts informed and positioning your brand as a trusted reference point.
Start your free trial
Automated Emails
Set up automated sends based on your customers' actions.
Build trust with every sale
Order and payment confirmations are sent immediately after purchase, reinforcing your customers' trust.
Updates at the right time
Password resets, login alerts, and account updates are always on time: your customers never have to wait, and your support team can focus on what matters.
Efficiency and transparency with timely notifications and invoices
Shipping updates, invoices, and renewal reminders are sent automatically, keeping your contacts informed and positioning your brand as a trusted reference point.
Start your free trial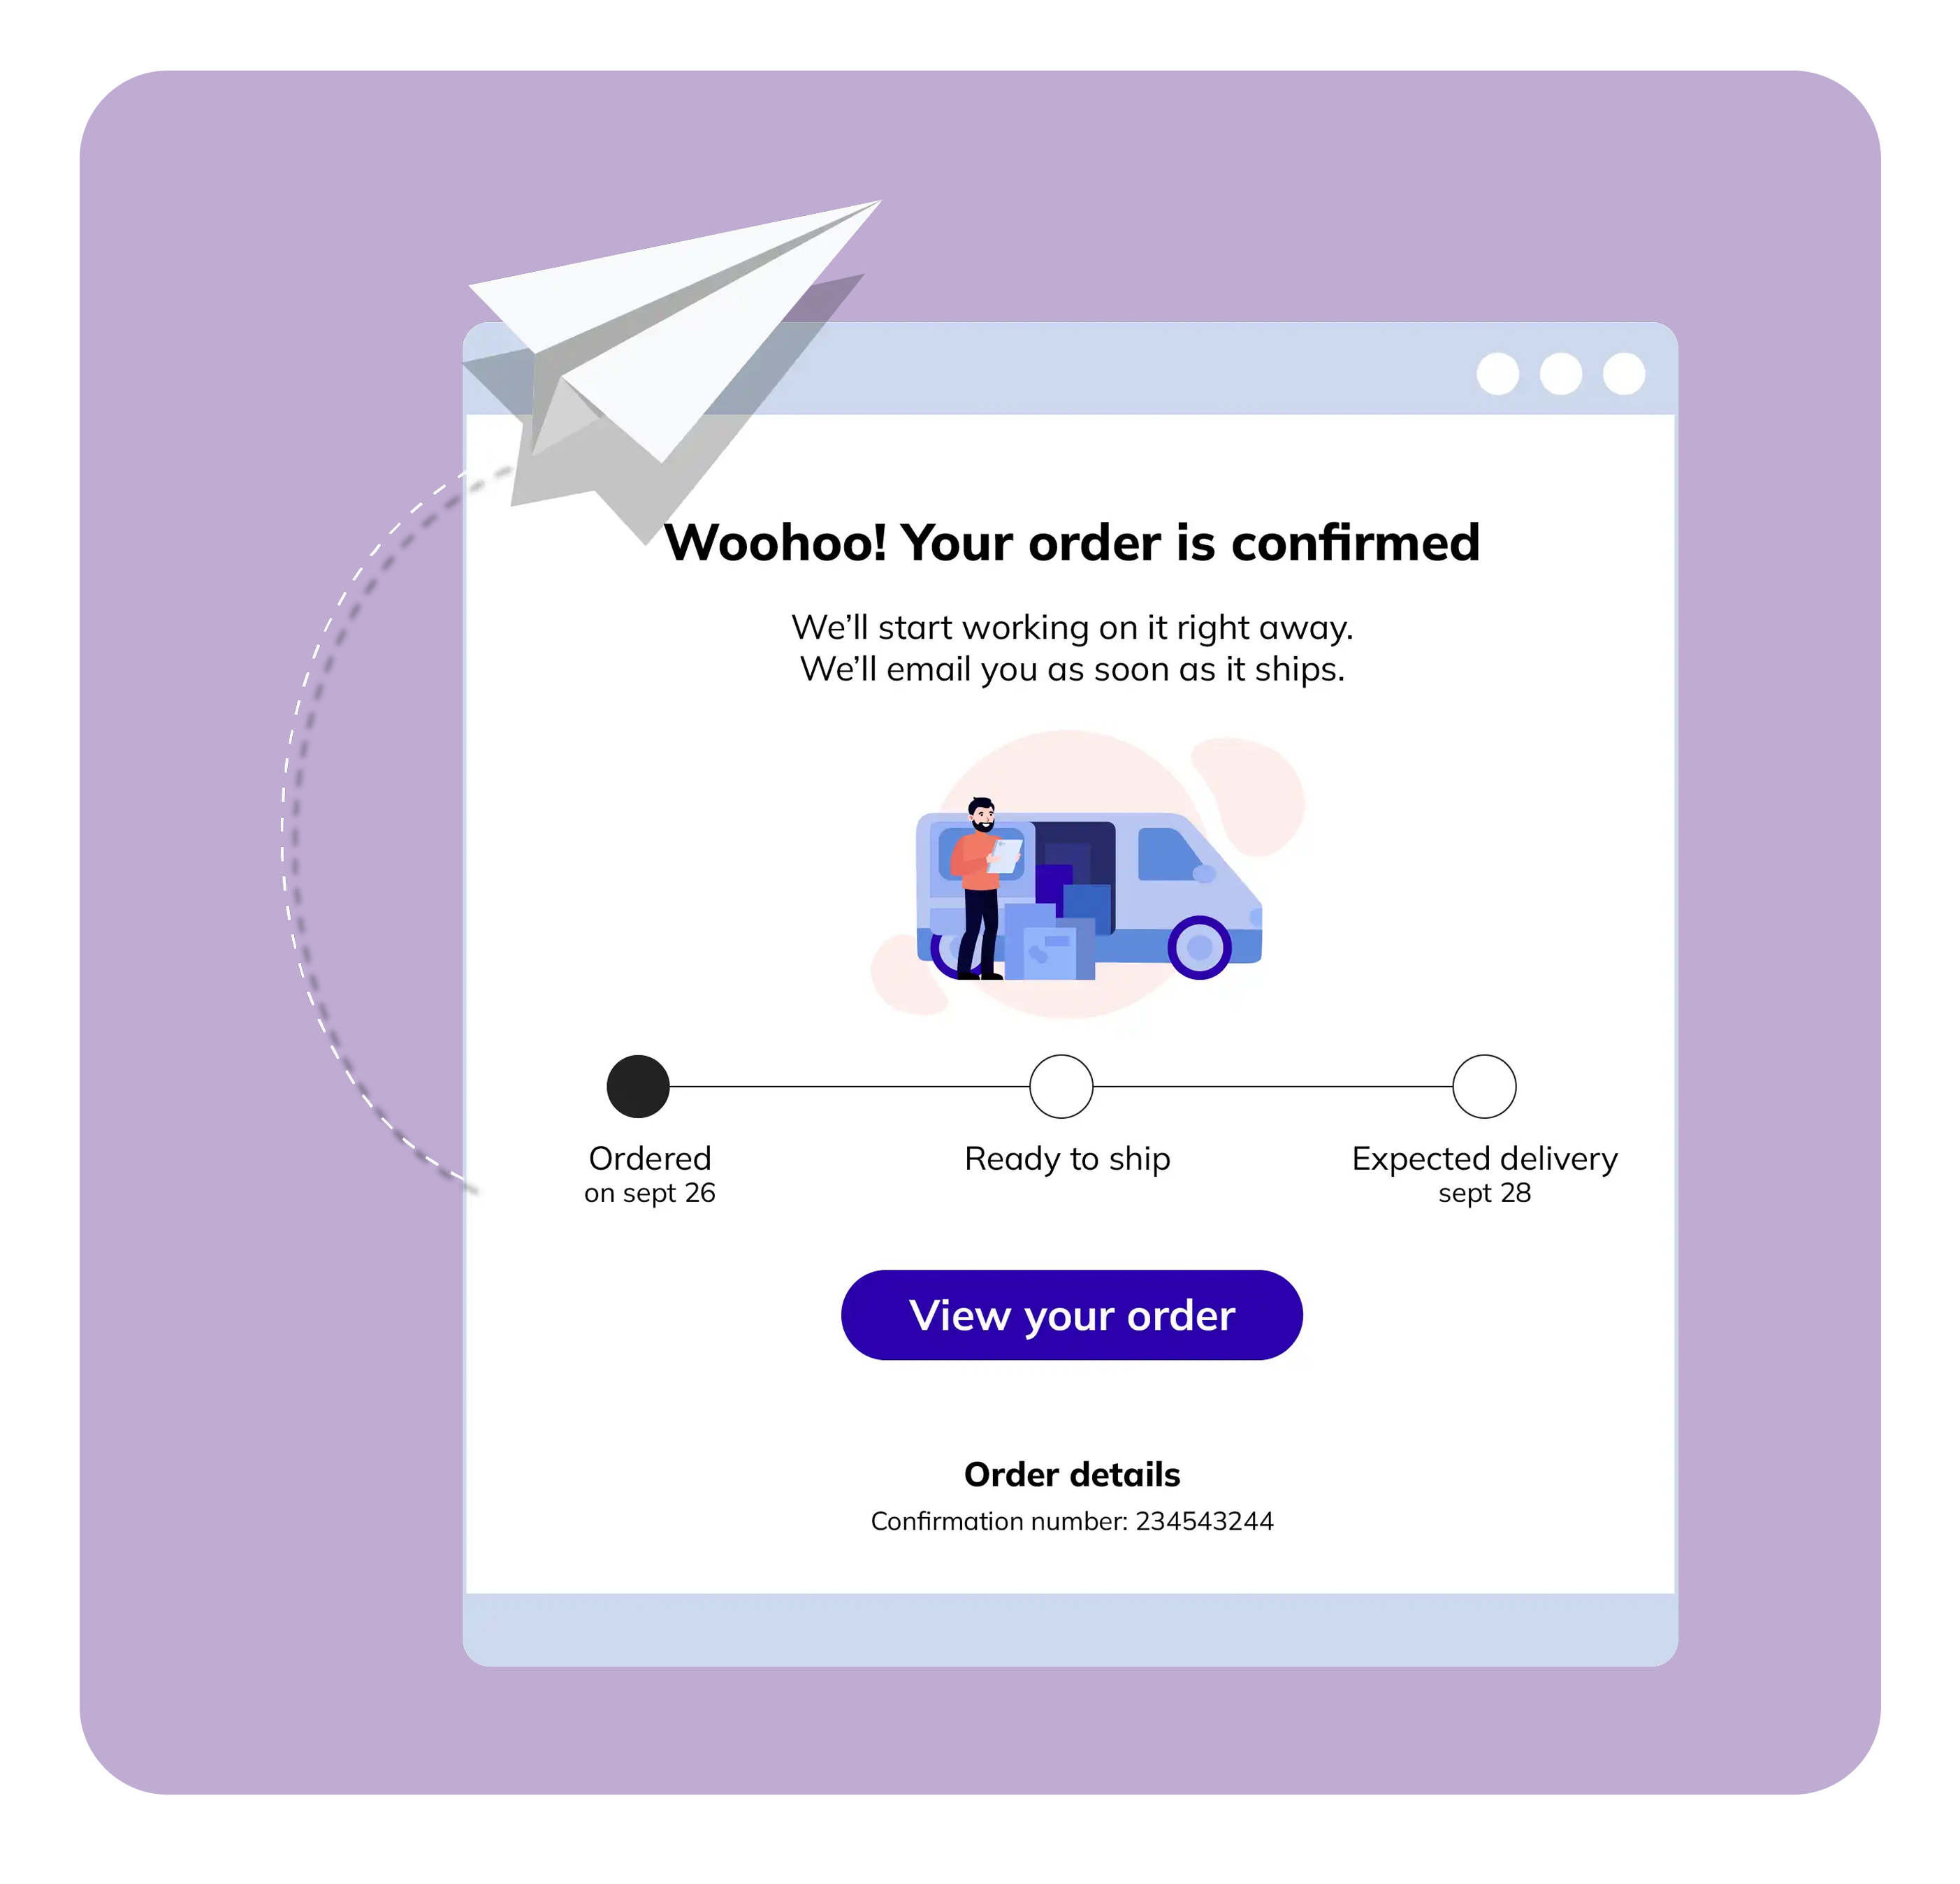
Write Emails with Artificial Intelligence 
Stand out in every inbox with built-in AI tools that help you craft the right message for the right customers in less time.
Optimize your email subject lines
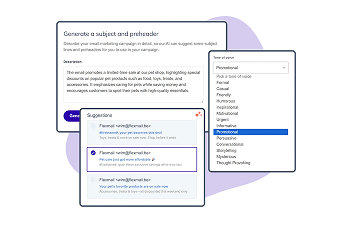
Standing out in a crowded inbox is the ultimate challenge. The built-in AI feature helps you brainstorm ideas and test variations for your subject lines and preheaders, driving your customers to open your emails and click through.
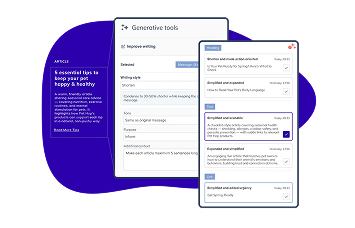
Write content with the help of AI
Artificial intelligence works for you: starting from a draft, the editor generates copy in different "tones of voice" based on proven conversion techniques, ensuring maximum impact.
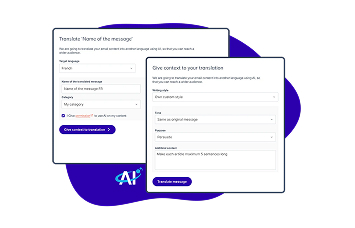
Speak every language with the built-in translator
Reach different audiences by communicating in multiple languages. AI translates your messages instantly while preserving the original tone, with no need for external tools.
Explore all of Flexmail's features
 |  |
 |
 |
 |
 |
|
|---|---|---|---|---|---|---|
| AI email subject line generator | ||||||
| AI translation | ||||||
| AI content generation | ||||||
| Ready-made templates | ||||||
| A/B testing | ||||||
| Custom reports | * | * | ||||
| Built-in surveys & quizzes | ||||||
| Customer-centric database | ||||||
| Heatmaps | * | |||||
| Automated emails | * | |||||
| ISO 27001 certification (security of information systems) | * | |||||
| ISO 27701 certification (privacy management and data protection) |
Note: features marked with * are available but may require additional cost or have limited functionality.
Why choose Flexmail

Website, email, hosting: all in one place
Manage your website, hosting, and email marketing from a single platform, with dedicated support from a Greek team and the security of data stored in Europe, in full compliance with GDPR.

Simple to start, built for growth
Publish your first campaign in just a few minutes thanks to the dynamic features and drag-and-drop email editor. No technical knowledge required, and your messages are optimized to look perfect on every screen.

Emails that always land in the right inbox
Marketing and transactional emails run on separate infrastructures, ensuring your promotional campaigns never affect the delivery of critical messages such as order confirmations or password resets.

Specialized support in Greek
Our specialized team is at your disposal to guide you from setting up your first campaign to implementing the most advanced automations.
|
Start |
Essential |
Pro |
|
|---|---|---|---|
|
|
|
|
|
| Included users | 1 | 10 | 15 |
| Custom fields | 5 | 25 | 50 |
| Included API calls | 1.000 | 1.000 | 10.000 |
| Max sends/month | Unlimited | Unlimited | Unlimited |
| Max sends/daily | Unlimited | Unlimited | Unlimited |
For managing automated notifications, password resets, and order confirmations. Choose the package that best suits your needs and pay a fixed monthly cost based on your sending volume.
|
Start |
|
|---|---|
| Number of emails per month | Monthly price |
| 20,000 | €11.00 |
| 50,000 | €27.00 |
| 100,000 | €51.00 |
| 250,000 | €124.00 |
| 30 days to discover the product with no commitment whatsoever* | *Try now for free |
*The free trial includes only the 1,000-contact plan and lasts for 30 days. At the end of the 30-day period, the free trial will automatically renew according to the prices listed above.
You can independently deactivate the free trial service from your control panel up to 5 days before it expires.
Discover all the features Customized solutions
Frequently Asked Questions
Go to Settings, then Brand kit.
Upload your logo and add your brand colors using their HEX codes
Set your preferred fonts for headings and body text
Click Save.
To create a new message:
- Go to Campaigns, then Messages, and click Create new message
- Click Start creating in the Email builder section
- Choose a template to get started, or start from a blank canvas
- Give your message a name and click Start creating
Building your email:
- Structures — drag a column layout onto the canvas to define each row
- Elements — drag content into your structures: text, images, and more
- Personalisation — add contact data such as the name using placeholders
Before you send:
- Use the desktop/mobile toggle to see how the email looks on devices
- Click Preview to see your message with real contact data
- Click Check message to run a spam analysis and check performance
To import a CSV file:
- Go to Contacts, then All contacts, and click Add contacts
- Select Upload file and choose your CSV
- Match each column to the correct Flexmail field
- Confirm that you have the right to send email to these contacts
- Click Import
Verifying your sender address
- Go to Settings, then Add or remove senders
- Click Add new sender and enter the email address
- Flexmail sends a confirmation email to that address — the owner of that inbox must open it and click Confirm my email address
- Once verified, you can send from that address
Setting up email authentication
After verifying your sender address, set up email authentication. This tells receiving email servers like Gmail and Outlook that your emails are legitimate — helping them land in the inbox instead of spam.
Go to Campaigns, then Manage campaigns, and click Create new campaign.
Enter the campaign name, the subject, and choose the sender address.
Select the message to send.
Choose the recipient contacts or segments.
Review the summary:
verify the tracking settings;
make sure a plain text version of the message is available.
Decide when the campaign will be sent (immediately or scheduled).
Support tip: in the same section, select Test campaign to send yourself a test before the mass send.
To create a workflow:
- Go to Automation, then Workflows, and click Add new workflow
- Enter a name and choose a template for common scenarios like welcome series and re-engagement flows — or start from scratch
- Set up the starting trigger. Choose what causes contacts to enter the workflow, such as signing up via a form or clicking a link
- Add a Send campaign block. Choose the message and set when it will be sent
- Add a Wait block to set a delay before the next email
- When you're ready, click Start workflow
Step 1: Create your interests:
- Go to Contacts, then Interests, and click Add interest
- Enter a name and select Public as the visibility
- Add a label and description so contacts know what they're signing up for
- Click Save interest
Step 2: Assign interests to your contacts:
- The fastest way is during import. Add an Interests column to your CSV file with the interest name and map it during the import process.
- You can also ask contacts to update their own preferences by sending them a link to their profile page.
Step 3: Create segments based on interests
- Go to Contacts, then Segments, and click Add segment
- Add a condition: Interest → Subscribed → [interest name]
- Your segment updates automatically as contacts' data changes
Step 4: Use your segments in campaigns
- When creating a campaign, select the interest-based segment as the recipient group, so only contacts who want that content receive it.

Find the answers you're looking for
We've created a rich knowledge base just for you, filled with detailed and useful articles. Visit it and start your search.
Knowledge base